
How to Setup Domain on Cloudflare
Step-by-step guide to configure DNS records on Cloudflare for Aurora SendCloud. Learn to set up SPF, DKIM, MX, and DMARC records for optimal email delivery.
This guide walks you through adding a primary domain or subdomain in Cloudflare and configuring the DNS records that Aurora SendCloud requires.
Prerequisites:
- Create a Cloudflare account at cloudflare.com if you don't have one already.
- Add your domain or subdomain to your Aurora SendCloud account so the system can generate the required DNS records.
If you encounter errors while configuring DNS records in Cloudflare, contact Cloudflare's support team directly—they can identify and resolve DNS-related issues most quickly.
Choosing a Primary Domain or Subdomain
Before you proceed, decide whether to use your primary domain or a subdomain. Review the following Aurora SendCloud article for guidance:
How to choose a sending domain
Here's a quick overview of the two options:
- Primary domains — for example,
aurorasendcloud.com,mydnsexample.com, orgoogle.com. - Subdomains — for example,
relay.aurorasendcloud.com,sc.mydnsexample.com, ormail.google.com. A subdomain has an additional prefix before the primary domain.
In most cases, using a subdomain with Aurora SendCloud is the preferred option.
Adding a Domain
There are several ways to add a domain or subdomain to Cloudflare:
Method 1: Register a new domain or subdomain with Cloudflare.
Method 2: Transfer an existing domain or subdomain registration from another registrar to Cloudflare.
Method 3: Update the name servers of your existing domain at your registrar to point to Cloudflare instead of your current DNS provider.
This guide will focus on the first and third methods.
Registering a New Domain (Method 1)
To register a new domain or subdomain and host it on Cloudflare, follow these steps:
- Log in to your Cloudflare account.
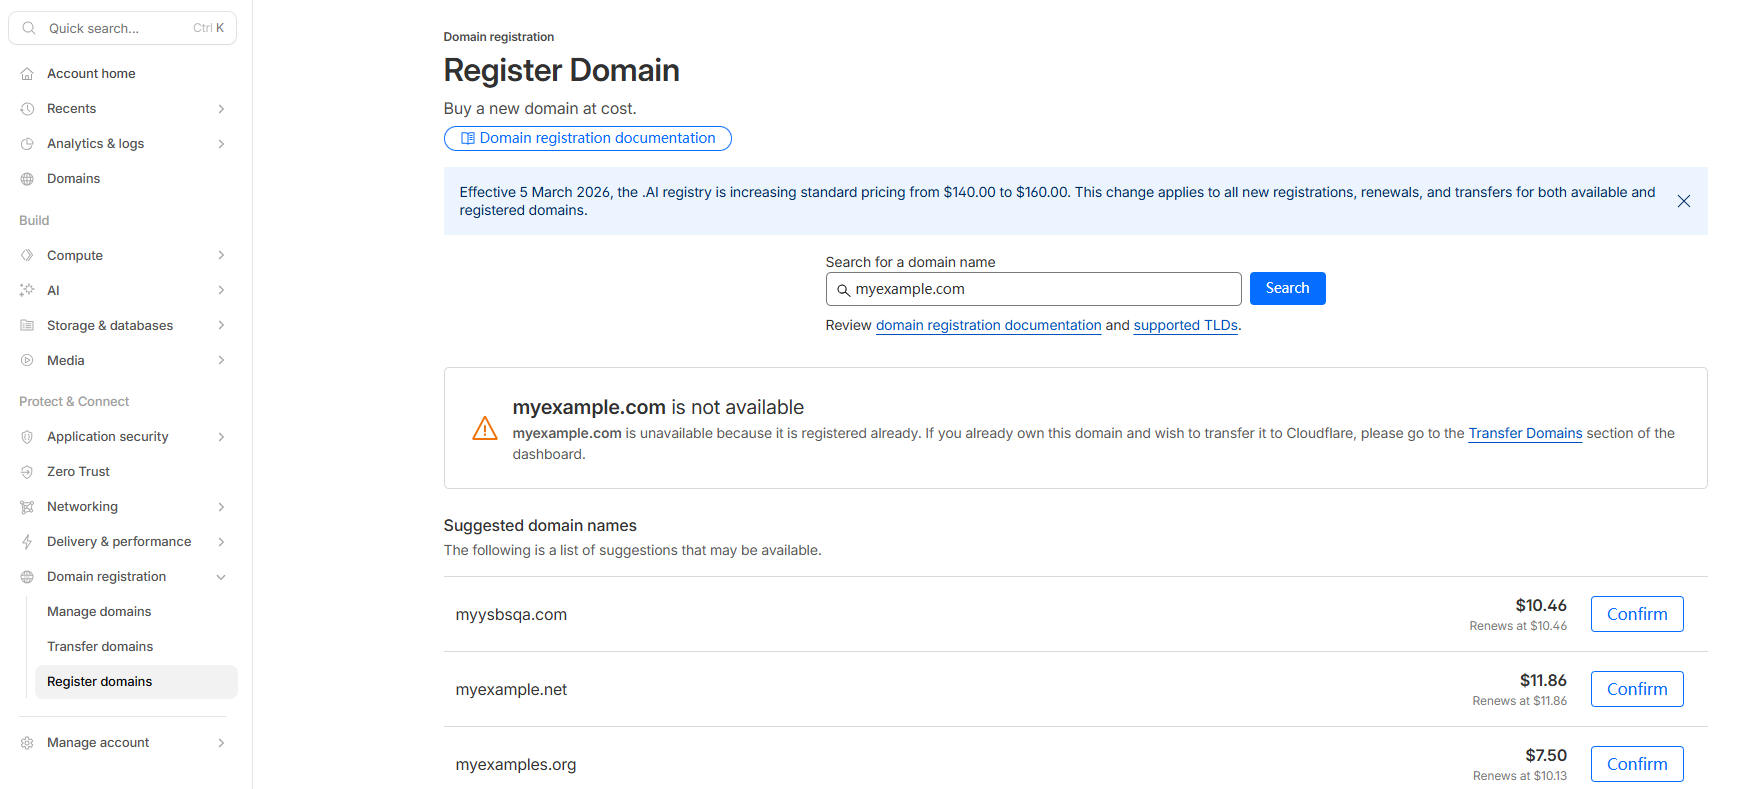
- Click Domain Registration and enter the new domain name you want to purchase from Cloudflare.
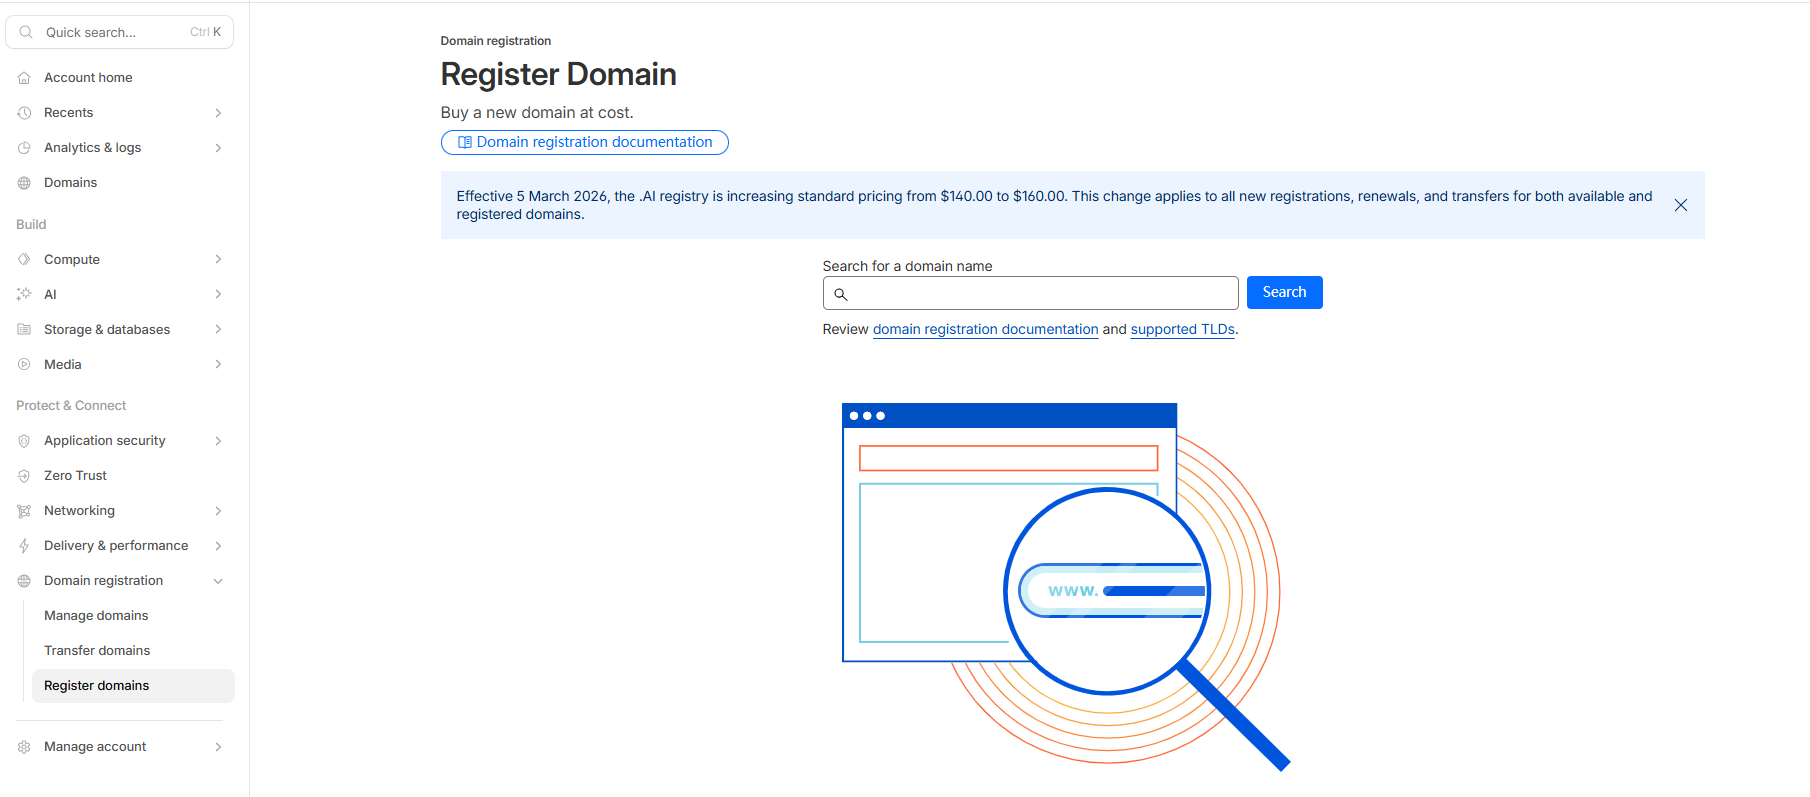
- Follow the prompts to provide payment and complete the domain registration process.
Using an Existing Domain (Method 3)
If you have a domain or subdomain registered with another provider and want to manage its DNS through Cloudflare, follow these steps:
- Log in to your Cloudflare account.
- Add your existing domain to Cloudflare's DNS management.
- Note the NS (name server) records that Cloudflare displays—you'll need these in the next step.
- Update the name server records at your domain registrar to the values provided by Cloudflare.
Configuring the Domain
Once the domain has been added, configure its DNS records by following these steps:
- Log in to your Cloudflare account.
- Go to Domain Management.
- Find the domain you want to configure and click Manage.
- Click Add Record to begin configuring DNS records.
Configuring SPF
SPF (Sender Policy Framework) records help protect your domain from email spoofing and reduce the likelihood that your emails are marked as spam.
Configuring an SPF Record for a Primary Domain:
In your Cloudflare dashboard, enter the SPF record information displayed in the Aurora SendCloud dashboard.
| Field | Value |
|---|---|
| Record Type | TXT |
| Host Record | @ |
| Record Value | v=spf1 include:sendcloud.org ~all (When activating multiple regions, configure according to the actual values on the page) |
| TTL | 600 (seconds) |
If you already have an SPF record for this primary domain, insert
include:sendcloud.orginto the existing record. Place this text afterv=spf1and before~all.
Configuring an SPF Record for a Subdomain:
| Field | Value |
|---|---|
| Record Type | TXT |
| Host Record | Subdomain prefix (e.g., sc) |
| Record Value | v=spf1 include:sendcloud.org ~all (When activating multiple regions, configure according to the actual values on the page) |
| TTL | 600 (seconds) |
Configuring DKIM
DKIM (DomainKeys Identified Mail) records verify your domain's identity to prevent email forgery and reduce the likelihood of your emails being marked as spam.
Configuring a DKIM Record for a Primary Domain:
| Field | Value |
|---|---|
| Record Type | TXT |
| Host Record | sendcloud._domainkey (or the value assigned by Aurora SendCloud for your domain) |
| Record Value | k=rsa; p=MIGfMA0GCSqGSIb3DQEBAQUA... (Configure according to the actual values on the page) |
| TTL | 600 (seconds) |
Your DKIM host record may have a different value, such as
default._domainkeyorsc._domainkey. Always use the value assigned by Aurora SendCloud for your domain.
Configuring a DKIM Record for a Subdomain:
| Field | Value |
|---|---|
| Record Type | TXT |
| Host Record | sendcloud._domainkey. + subdomain prefix (e.g., sendcloud._domainkey.sc) |
| Record Value | k=rsa; p=MIGfMA0GCSqGSIb3DQEBAQUA... (Configure according to the actual values on the page) |
| TTL | 600 (seconds) |
Configuring MX Records
MX (Mail Exchange) records specify where emails sent to your domain should be delivered.
Configuring an MX Record for a Primary Domain:
| Field | Value |
|---|---|
| Record Type | MX |
| Host Record | @ |
| Record Value | mx.sendcloud.org (When enabling multiple regions, configure according to the actual values on the page) |
| Priority | 10 |
| TTL | 600 (seconds) |
Ensure that only Aurora SendCloud MX records are configured for your domain. Existing MX records from other email providers can cause unpredictable email delivery.
Configuring an MX Record for a Subdomain:
| Field | Value |
|---|---|
| Record Type | MX |
| Host Record | Subdomain prefix (e.g., sc) |
| Record Value | mx.sendcloud.org (When enabling multiple regions, configure according to the actual values on the page) |
| Priority | 10 |
| TTL | 600 (seconds) |
Configuring DMARC
DMARC (Domain-based Message Authentication, Reporting, and Conformance) is an email authentication protocol that protects your domain from spoofing and phishing attacks. It builds on SPF and DKIM to provide policy guidance to inbox providers.
Configuring a DMARC Record for a Primary Domain:
| Field | Value |
|---|---|
| Record Type | TXT |
| Host Record | _dmarc |
| Record Value | v=DMARC1; p=none; rua=mailto:[email protected]; ruf=mailto:[email protected]; fo=1 |
| TTL | 600 seconds |
Parameter Descriptions:
v=DMARC1: Protocol versionp=none: Monitor mode (no enforcement)p=quarantine: Quarantine mode (messages that fail verification will be sent to spam)p=reject: Reject mode (messages that fail verification will be rejected)rua: Email address for aggregated reportsruf: Email address for forensic reportsfo=1: Generate a failure report if any authentication check fails
Configuring a DMARC Record for a Subdomain:
| Field | Value |
|---|---|
| Record Type | TXT |
| Host Record | _dmarc. + subdomain prefix (e.g., _dmarc.sc) |
| Record Value | v=DMARC1; p=none; rua=mailto:[email protected] |
| TTL | 600 seconds |
Domain Registrar and Name Server Records
If you recently migrated from another DNS hosting provider (or are in the process of migrating) and your Aurora SendCloud DNS records fail to verify, you may need to update your domain's name server records.
When you switch DNS hosting providers, you must update the NS (name server) records at your registrar—the company where you purchased and registered your domain.
If you need help identifying your domain's registrar, the ICANN WHOIS website can assist with this task.
Need Support?
Contact the Aurora SendCloud support team from the Support page in your Aurora SendCloud control panel.
Important Notes
- The DNS record values in this guide are examples only. Always refer to the actual values displayed in your Aurora SendCloud dashboard.
- DNS records may take anywhere from several minutes to several hours to propagate globally after configuration.
- Set the TTL to a low value (300–600 seconds) for faster verification. After verification succeeds, you can increase the TTL as needed.
Updated 30 days ago