
Step-by-step tutorial for integrating WhatsApp Business with Aurora SendCloud, including account setup, template creation, testing, and campaign management with all original screenshots preserved.
WhatsApp Business Integration Overview
Transform your marketing strategy with Aurora SendCloud's powerful WhatsApp Business integration. This comprehensive guide walks you through every step from account setup to launching successful campaigns.
Connect your WhatsApp Business Account in minutes with our streamlined process
Design and submit message templates for Meta approval with built-in editor
Launch targeted marketing campaigns to segmented contact lists
Monitor delivery rates, engagement metrics, and campaign ROI
How does Aurora SendCloud charge for WhatsApp messages?
Prerequisites Checklist
Before starting your integration, ensure you have:
- ✅ Facebook Account with admin access to Meta Business Manager
- ✅ Dedicated Phone Number (never used with any WhatsApp service)
- ✅ Aurora SendCloud Access with active platform account
- ✅ Business Documentation including website and contact information
- ✅ Verification Capability for SMS or voice calls on your phone number
⚠️ Critical: Your phone number must be completely new and never registered with personal or business WhatsApp accounts.
Part 1: Integration & Account Binding
Step 1: Navigate to Integration Module
Access the Integration Hub:
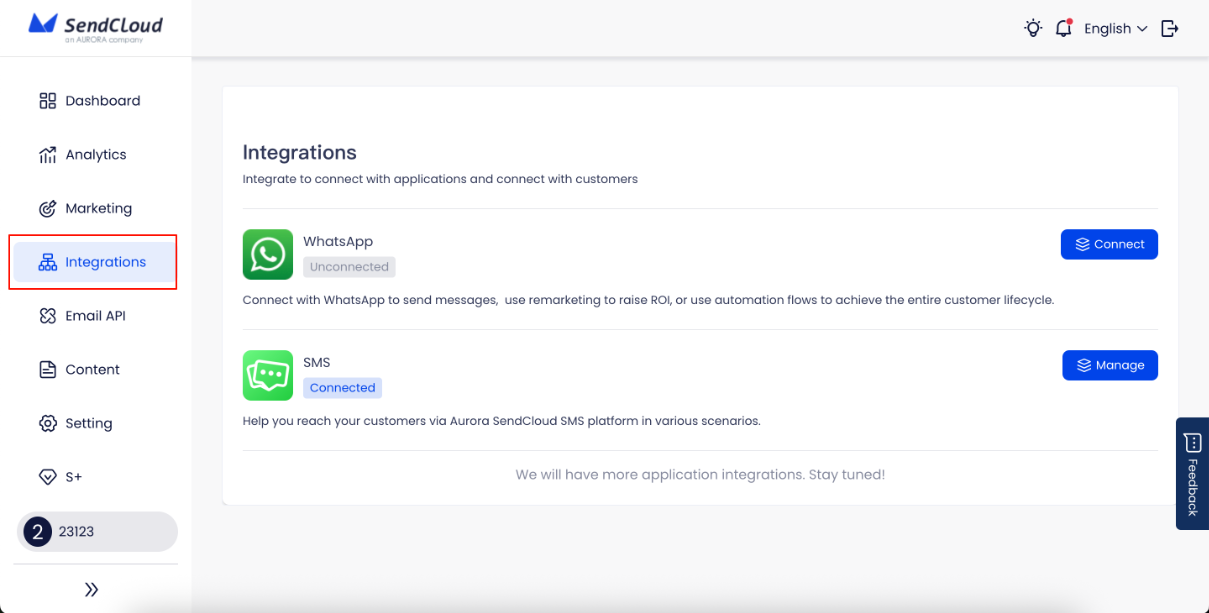
Log into your Aurora SendCloud platform dashboard, locate the left-side navigation menu on the Overview page, and click on the fourth icon labeled [Integrations].
Step 2: Begin WhatsApp Connection
Initiate WhatsApp Setup:
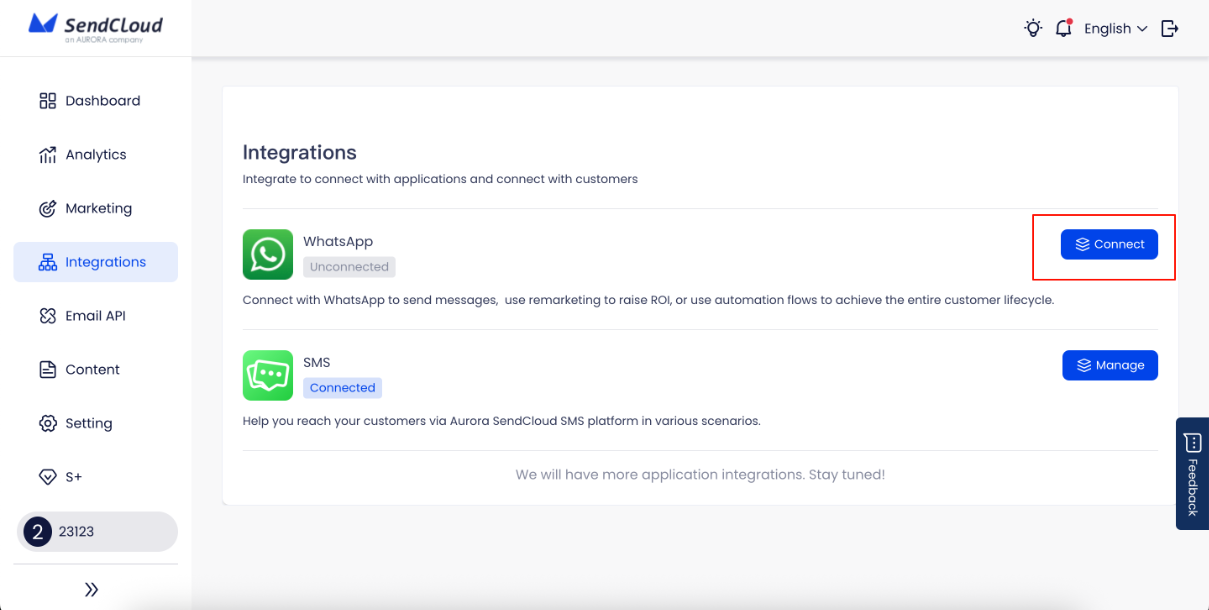
On the Integration page, locate the WhatsApp service option and click the blue [Connect] button next to WhatsApp. The system will prepare the integration workflow.
Step 3: Facebook Authorization Process
Complete Facebook Login:
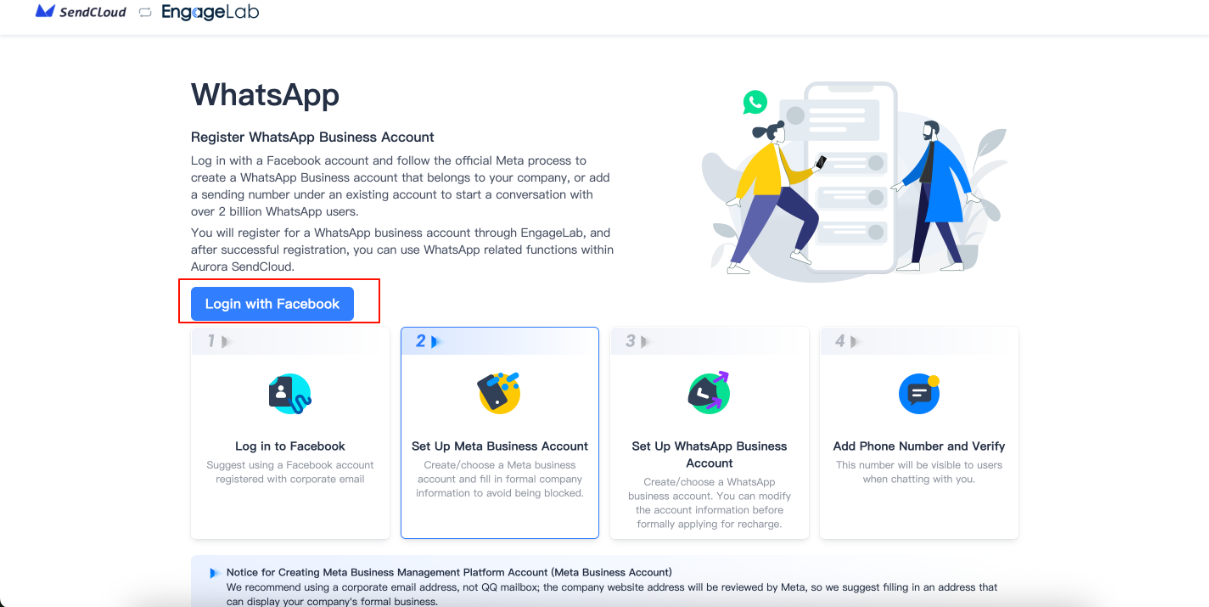
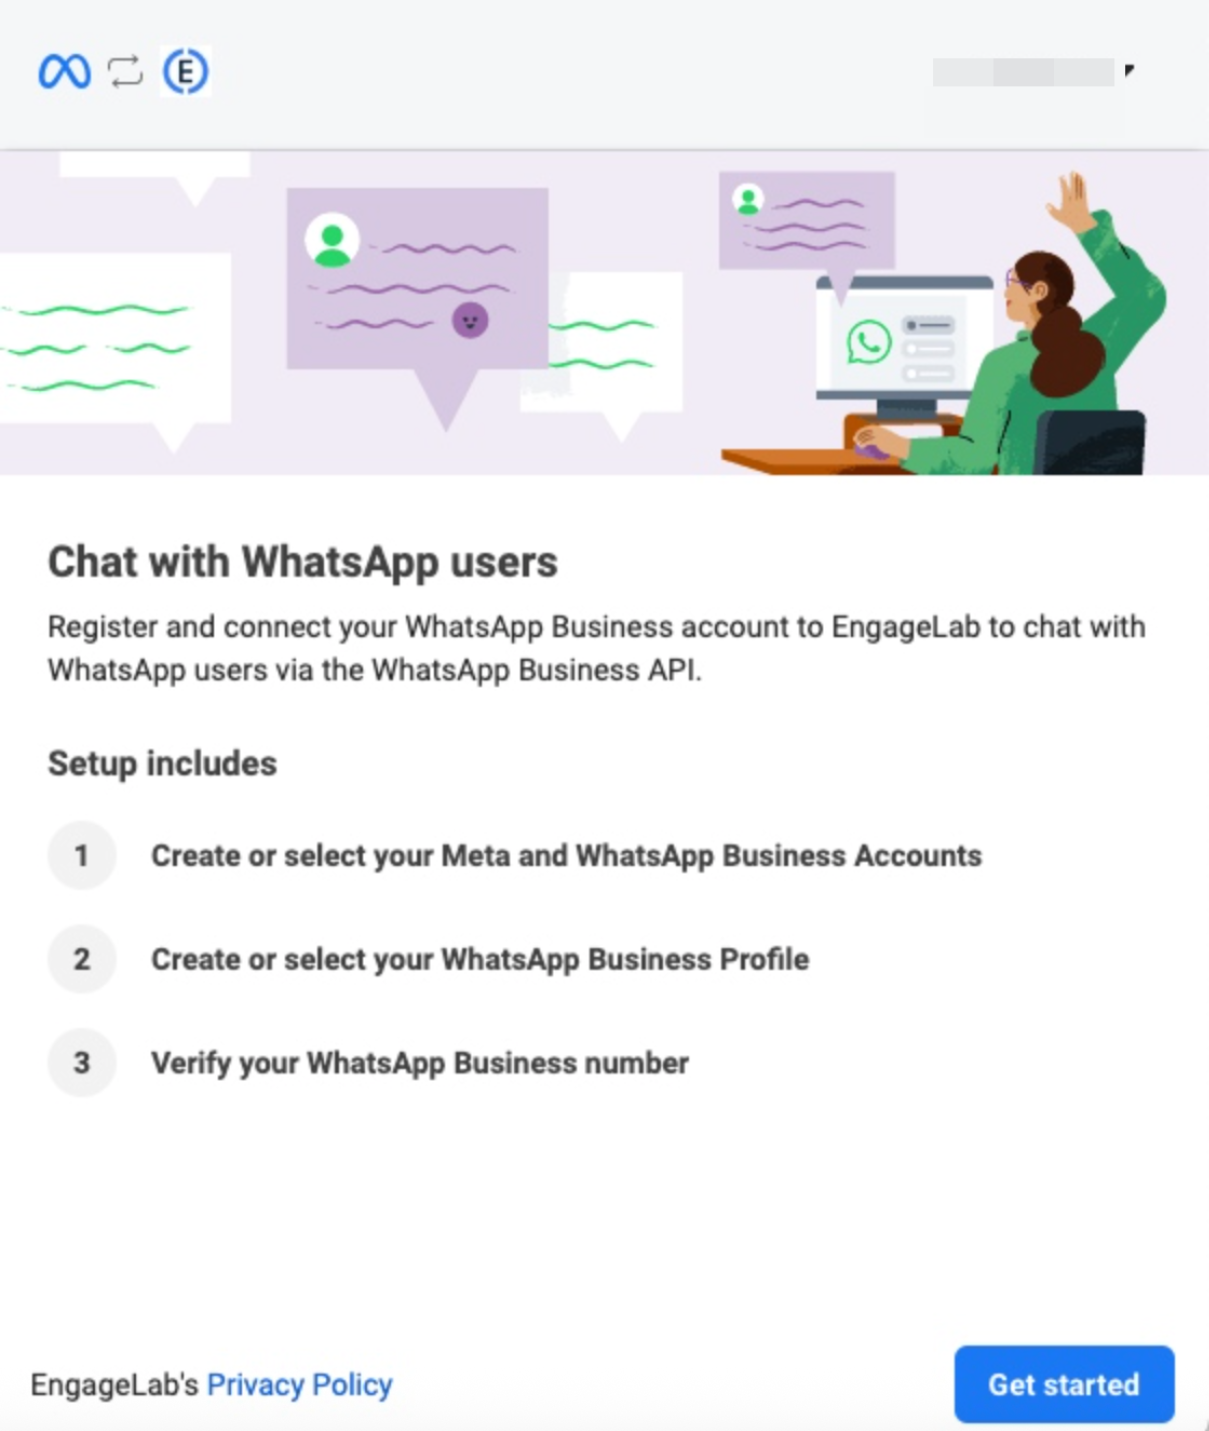
After clicking "Connect," you'll be redirected to the WhatsApp Business Account registration guide provided by EngageLab.
Click the [Login with Facebook] button on the setup page:
A Facebook login window will appear for authentication:
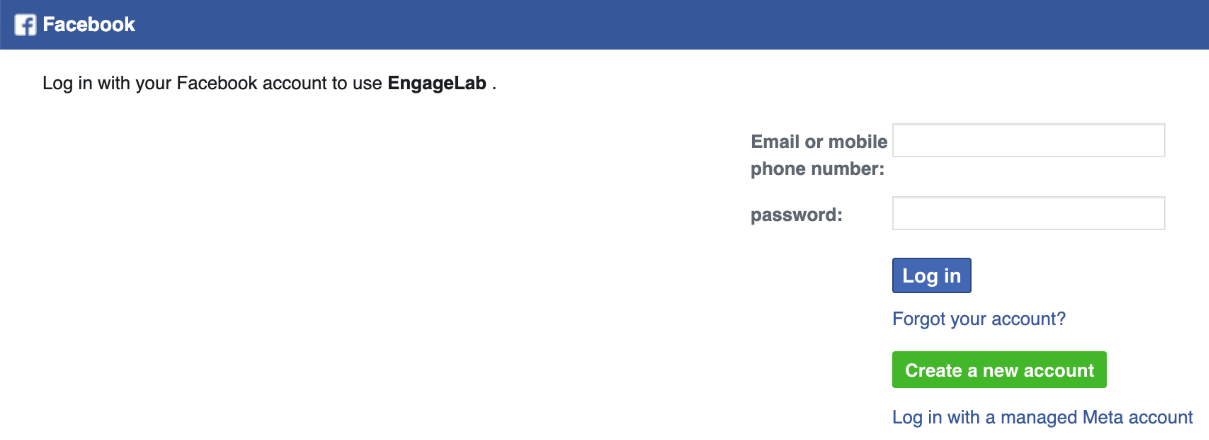
🔑 Important: Use the Facebook account that manages your Meta Business Manager. Your WhatsApp Business assets must be linked to this account.
Step 4: Authorization & Permissions
Grant Required Permissions:
After successful Facebook login, an authorization prompt will appear. Click [Get Started] in the bottom-right corner to begin setup:
Review the permissions list that will be granted to EngageLab, then click [Continue] to complete authorization (required step):
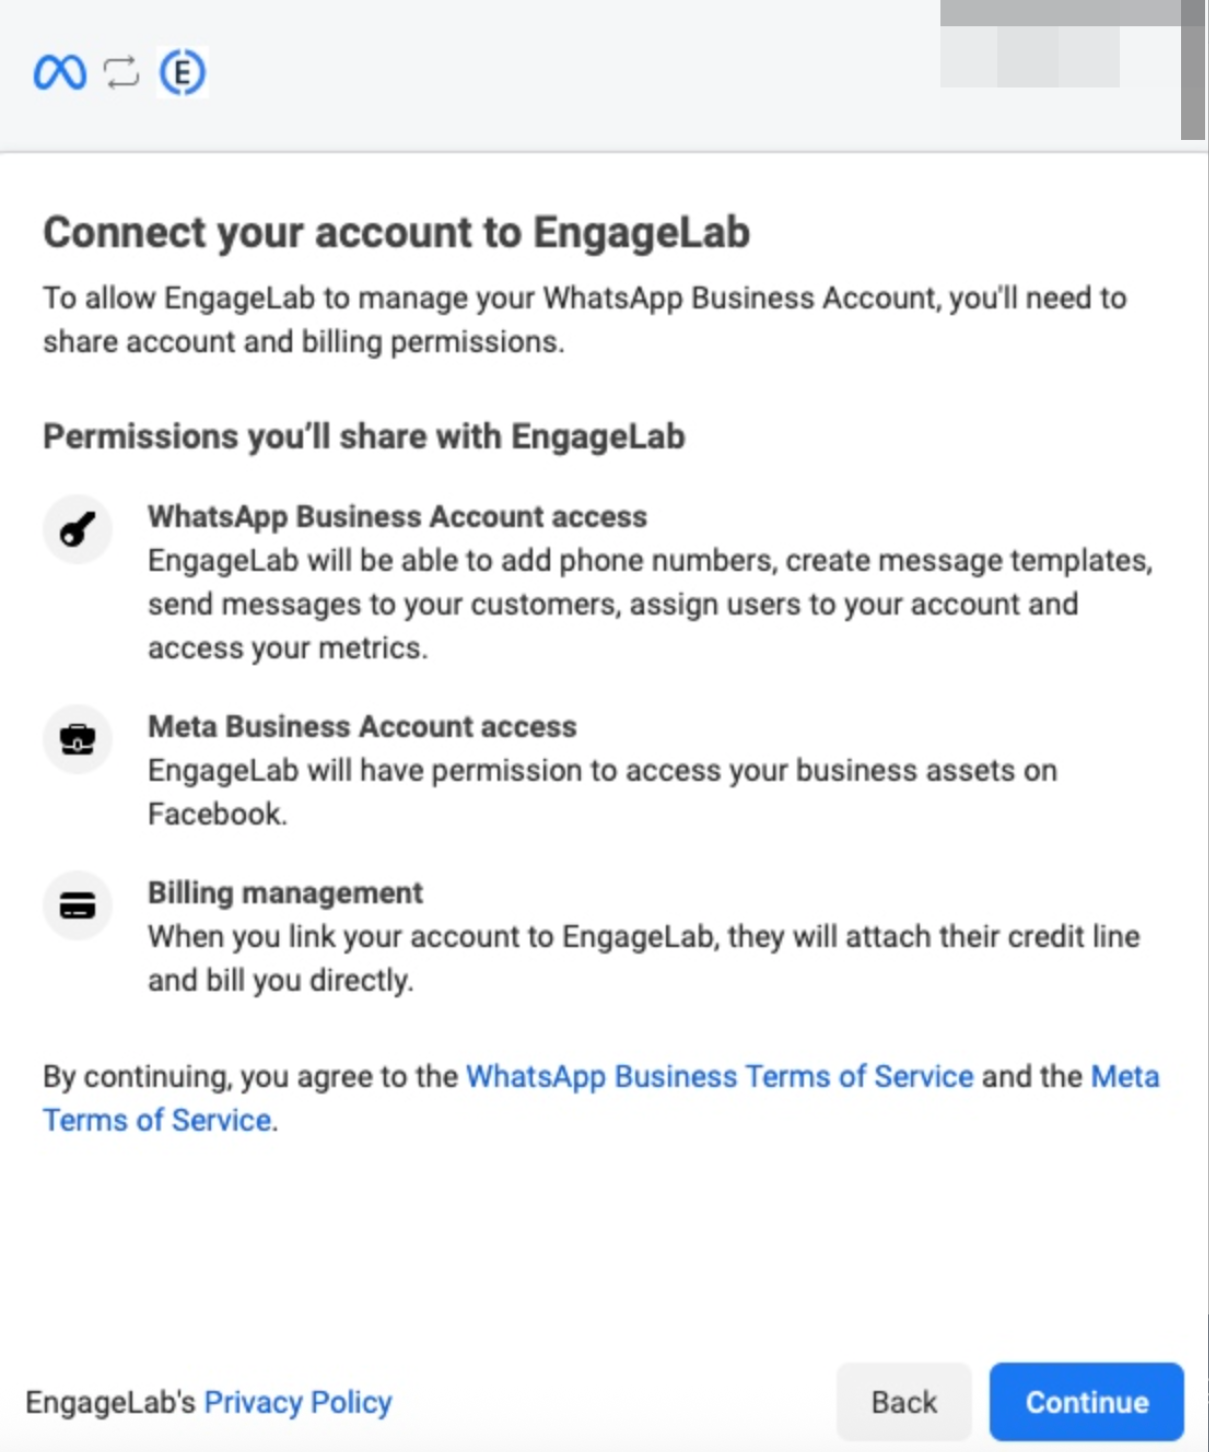
These permissions enable WhatsApp Business API functionality and campaign management.
Step 5: Meta Business Account Setup
Create or Select Business Account:
Choose to either select an existing Meta Business Account or create a new one.
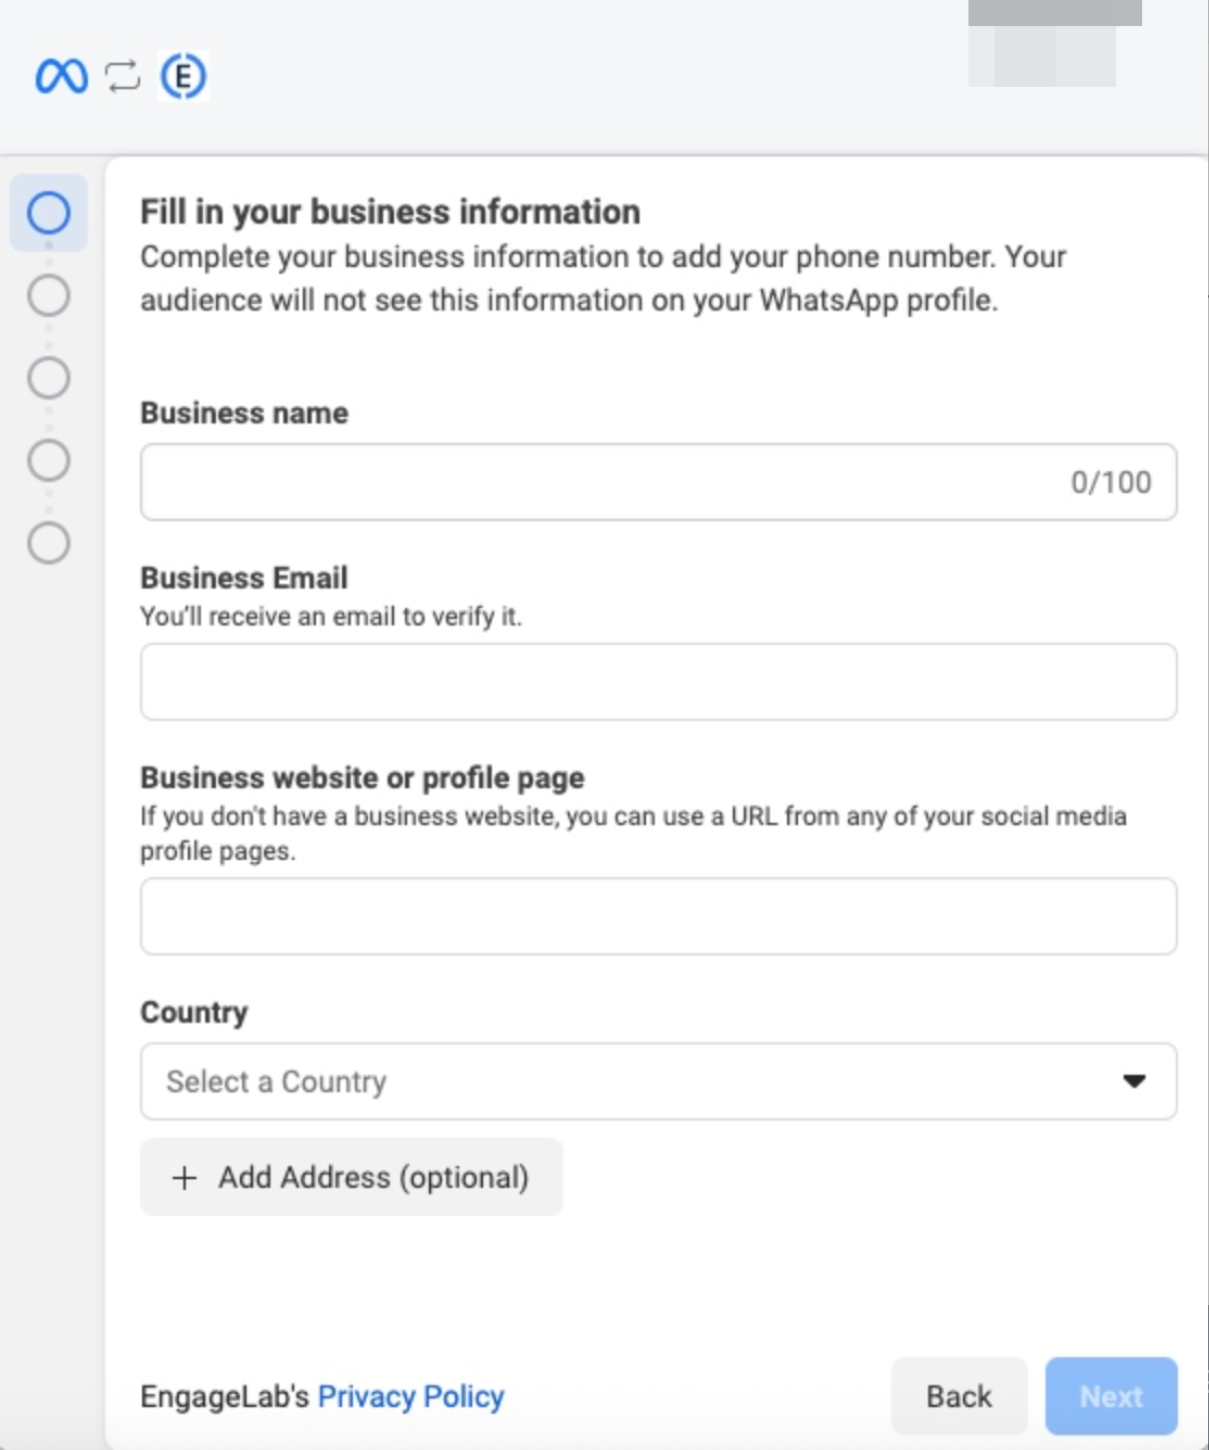
For New Account Creation, provide:
Company Name: Your official registered business name
Company Email: Corporate email address (avoid personal domains like Gmail)
Company Website: Official business website accessible internationally
Country/Region: Your primary business location
💡 Pro Tip: Use corporate email addresses to improve approval rates. Ensure your website is accessible to international visitors as Meta's review system will verify your business legitimacy.
Step 6: WhatsApp Business Account (WABA) Configuration
Setup Your WABA:
Similar to the previous step, you can select an existing WABA or create a new one.

Complete the following information:

WhatsApp Business Account Name: Internal management identifier
WhatsApp Business Profile Display Name: Customer-facing business name (visible to recipients)
Time Zone: Your business operation timezone (⚠️ cannot be changed later)
Category: Select your business industry classification
Business Description: Brief overview of your company and services
Step 7: Phone Number Verification (Critical Step)
Add and Verify Your Business Number:
This is the most critical step requiring careful execution.
Phone Number Requirements:
- ✅ Must be a brand new number
- ✅ Never registered with any WhatsApp service (personal or business)
- ✅ Capable of receiving SMS or voice calls
- ✅ Will become your permanent WhatsApp Business number
Verification Process:
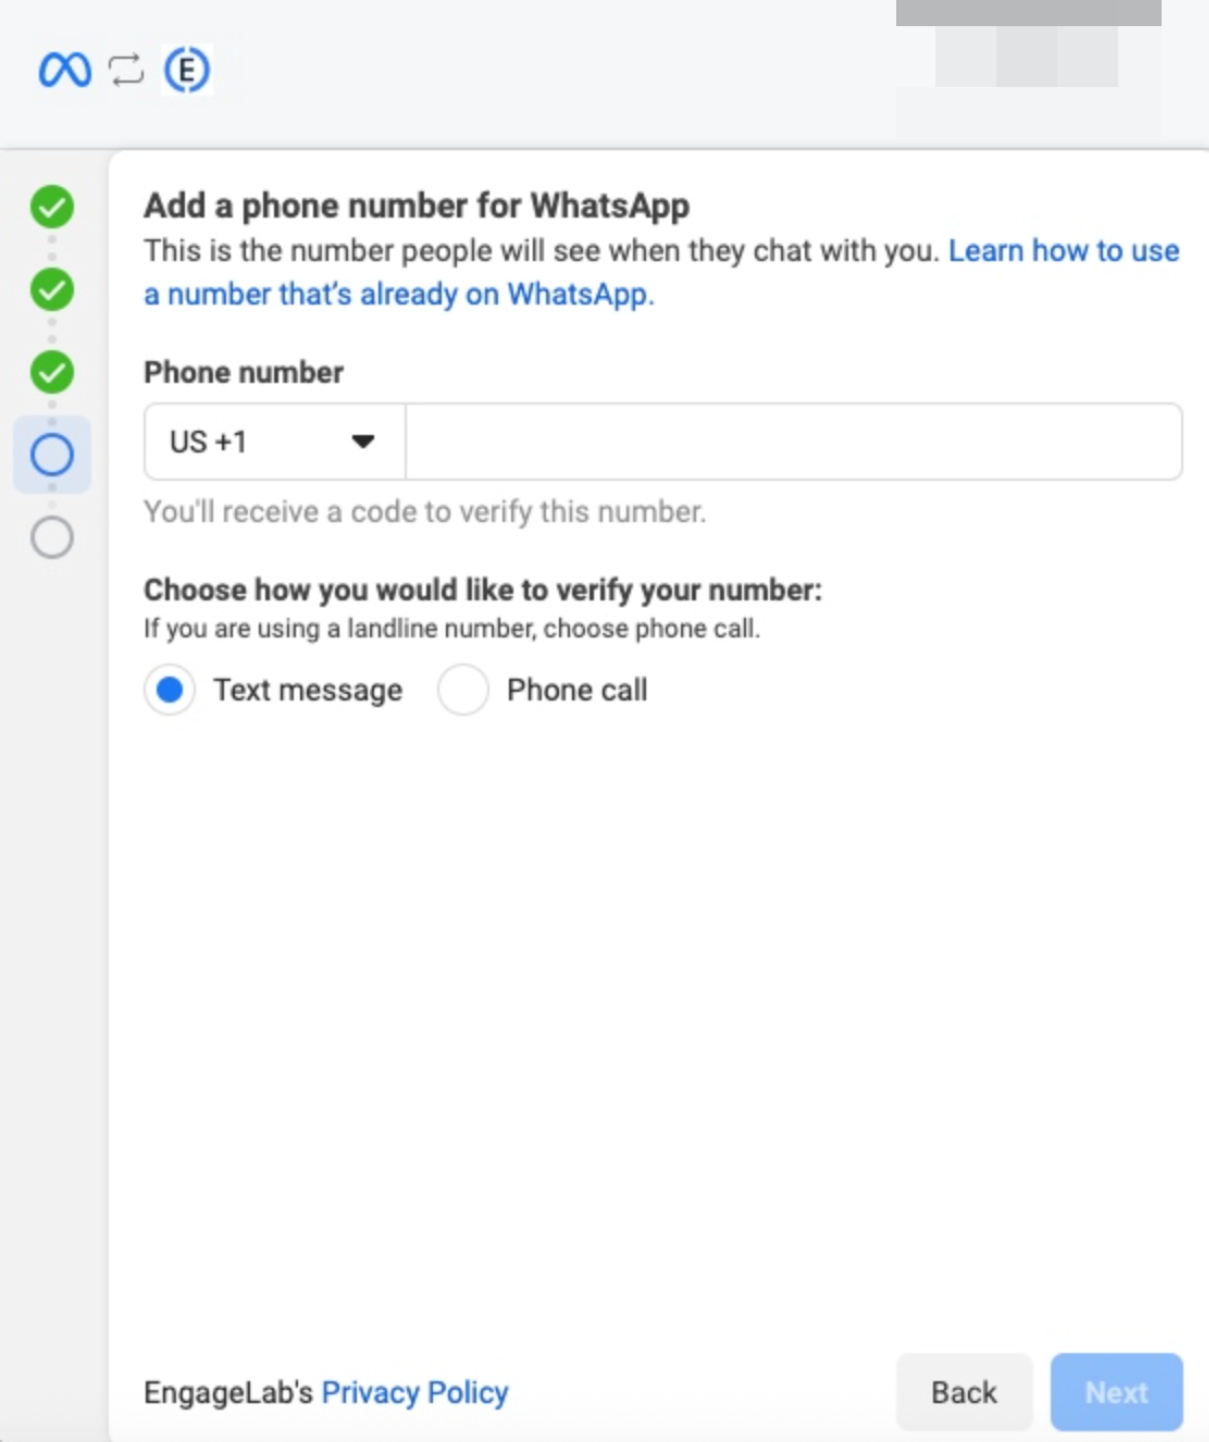
Select your country/region code (e.g., US +1), enter your dedicated phone number, choose verification method: Voice Call (recommended) or Text Message, then receive and enter the 6-digit verification code:
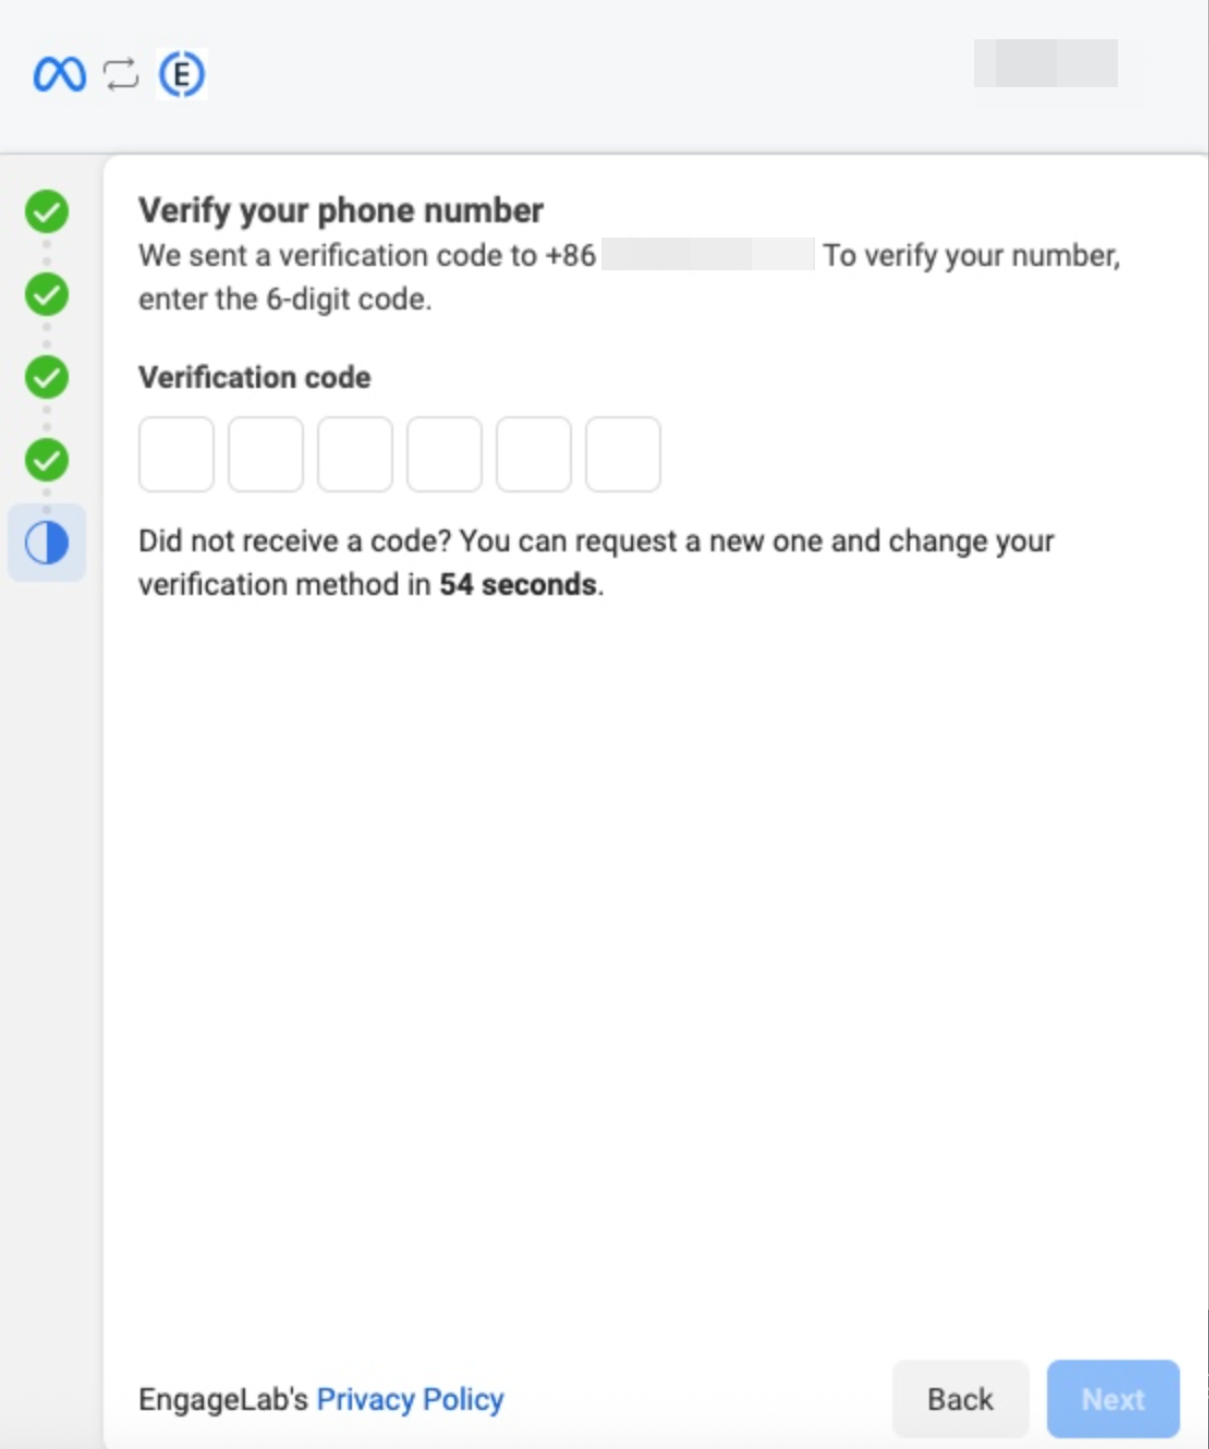
🚨 Troubleshooting for +86 (China) Numbers: If you experience issues receiving verification codes, check your phone's call blocking settings or contact your carrier to enable international communications. Consider using numbers from other regions if problems persist.
Step 8: Integration Completion
Verify Successful Connection:
Once verification succeeds, the system automatically completes all configurations and redirects you back to the Aurora SendCloud Integration page.
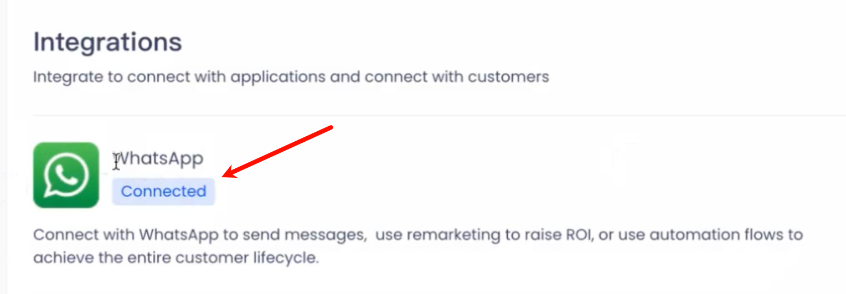
Success Indicators:
- WhatsApp status displays as green [Connected]
- Integration is now active and ready for template creation
- Your phone number is verified and operational
Part 2: WhatsApp Message Template Creation
All promotional WhatsApp messages sent via API must use pre-approved templates. Here's your complete template creation workflow:
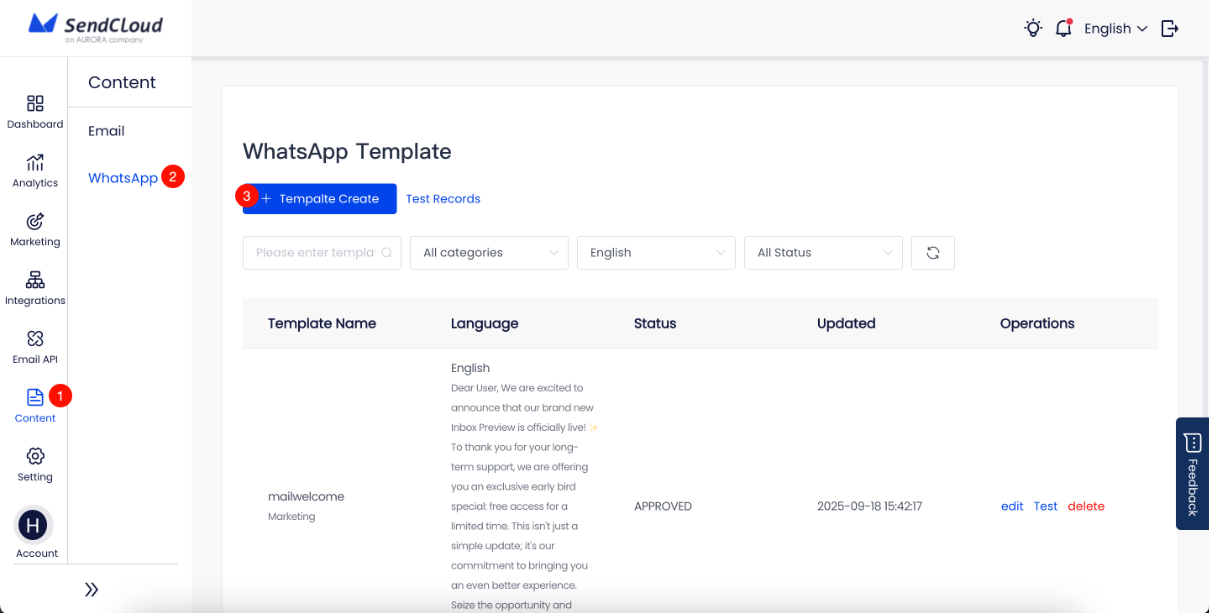
Template Management Workflow
Navigate to Content → WhatsApp in the left-side navigation bar, then click + New Template button in the upper-left corner.
Part 3: Testing & Validation
Send Test Messages
Verify Template Functionality:
Locate an approved template in your template list and click [Test] in the actions column:
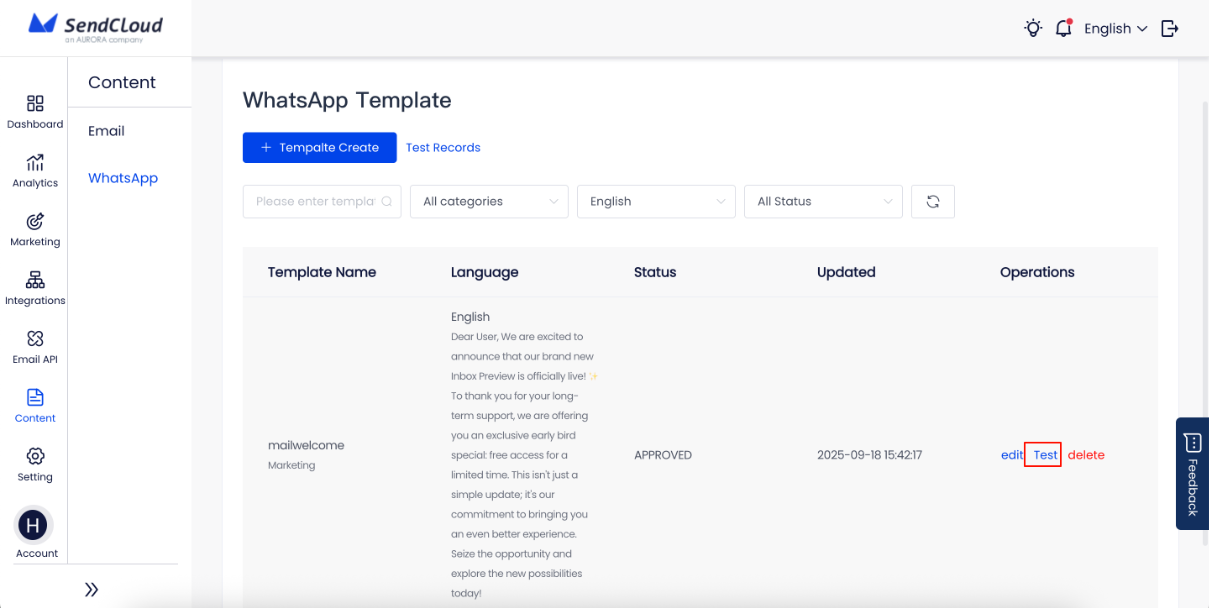
Enter recipient's mobile number in the test popup:
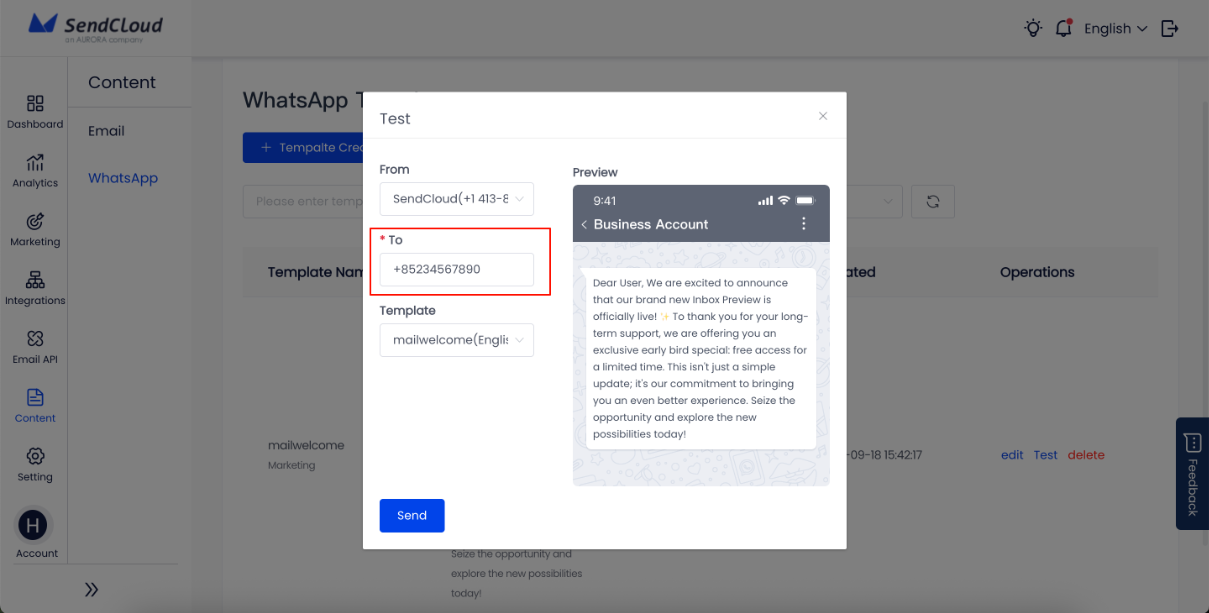
Number Format Requirements: Use complete international format: +[Country Code][Mobile Number] (Example: +852xxxxxxxx). Avoid formats starting with "00" or missing country codes.
Click [Send] to deliver test message:
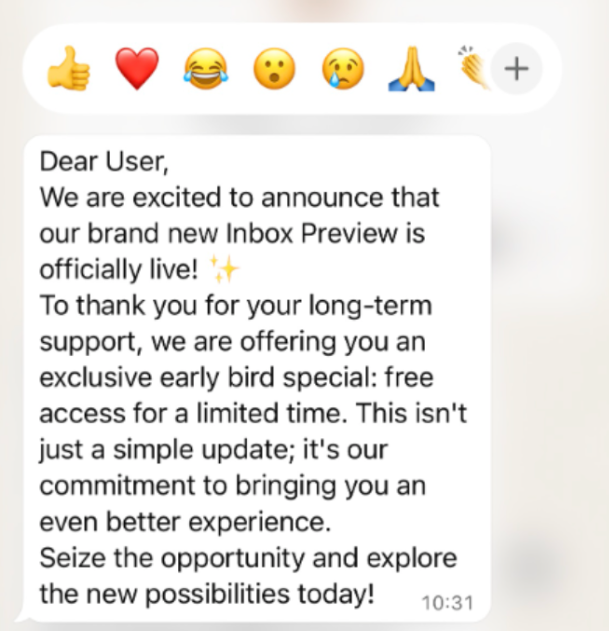
✅ Success Validation: Recipient should receive the formatted message in WhatsApp with all interactive elements functioning properly.
Part 4: Marketing Campaign Creation & Execution
Campaign Setup Workflow
Create New Marketing Campaign
Initialize Campaign:
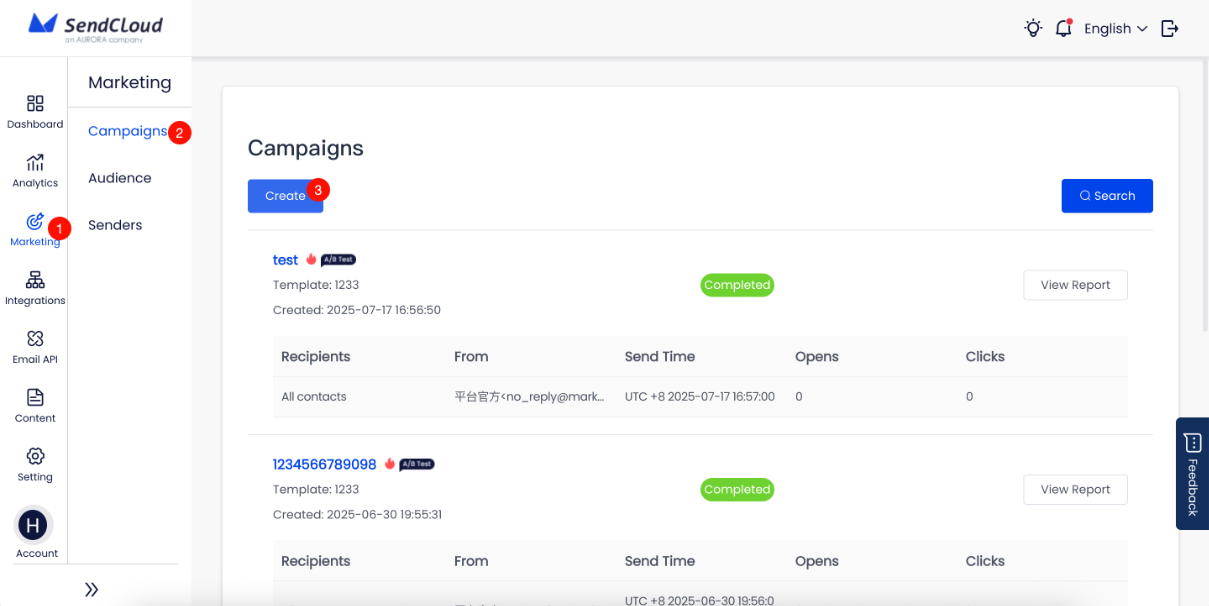
Navigate to [Marketing] in the left sidebar to access the Campaigns page, then click the [Create] button to start a new campaign:
Configure Campaign Type
Set Campaign Parameters:
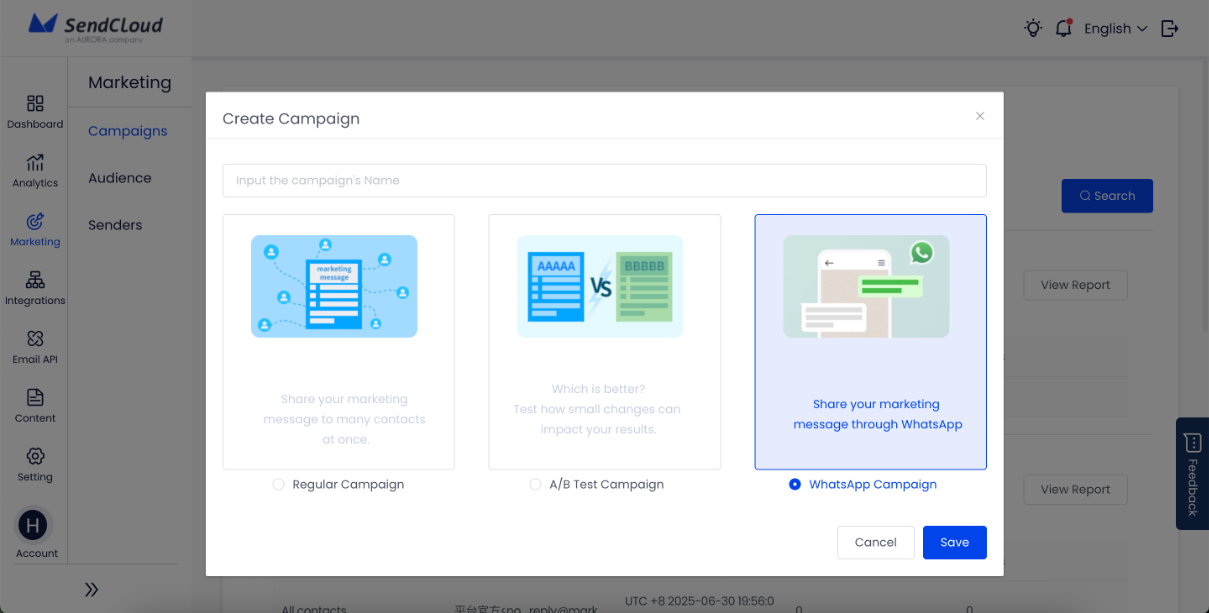
Enter a descriptive Task Name for internal identification, select WhatsApp Task as your Task Type, then click [Save] to proceed to detailed configuration.
Campaign Execution Settings
Configure Campaign Details:
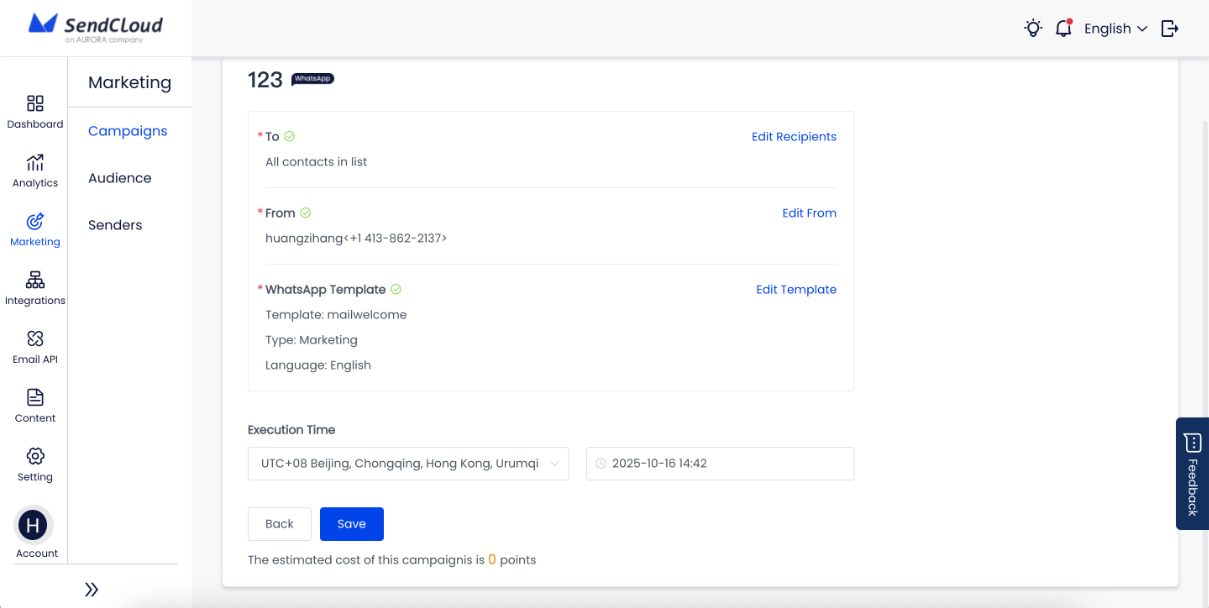
Essential Configuration:
Recipients Management: Click "Add Recipients" button, select target contact groups or tags, and verify contact data includes properly formatted mobile numbers.
Sender Selection: System automatically selects your connected WhatsApp number. Verify correct business number is displayed.
Template Selection: Click "Select Template", choose an [APPROVED] template from the list, and select appropriate language version.
Execution Timing: Choose Send Immediately to launch campaign right away, or Scheduled Send to set future date and time for delivery. Consider recipient time zones for optimal engagement.
Final Steps: Click [Save] at the bottom to complete campaign creation and prepare for launch.
Compliance & Best Practices
Opt-in Requirement: WhatsApp has strict permission-based marketing requirements. Only message contacts who have explicitly consented to receive your communications. Violating this policy may result in permanent account suspension.
Success Guidelines & Best Practices
Permission Management:
- ✅ Maintain detailed opt-in consent records
- ✅ Provide easy opt-out mechanisms
- ✅ Honor unsubscribe requests immediately
- ✅ Document consent collection methods
Content Strategy:
- 🎯 Relevant Messaging: Send valuable, targeted content
- ⏰ Optimal Timing: Respect local time zones and business hours
- 📊 Frequency Control: Avoid overwhelming contacts
- 💬 Response Management: Monitor and respond to replies promptly
Performance Optimization:
- 📈 A/B Testing: Test different templates and timing
- 🎯 Segmentation: Target specific audience groups
- 📊 Analytics: Track delivery rates and engagement metrics
- 🔄 Iteration: Continuously improve based on performance data
Troubleshooting Common Issues
| Issue | Cause | Solution |
|---|---|---|
| Verification Failures | Carrier restrictions on international communications | Enable international calls/SMS or use different region number |
| Template Rejections | Content violates Meta policies | Review guidelines, avoid promotional language, focus on value |
| Low Delivery Rates | Invalid phone number formats or inactive numbers | Audit contact data quality, verify number formats |
| Account Restrictions | Policy violations or suspicious activity | Ensure compliance, review sending patterns, contact support |
Support & Next Steps
Getting Help
If you encounter issues during setup or need assistance with WhatsApp marketing strategy, our support team is ready to help with:
- ✅ Technical Integration Support
- ✅ Template Design Consultation
- ✅ Campaign Strategy Guidance
- ✅ Performance Optimization
Advanced Features
Once your basic integration is complete, explore these advanced capabilities:
- 🤖 Automated Workflows: Set up trigger-based messaging
- 🎯 Advanced Segmentation: Create detailed audience profiles
- 📊 Analytics Dashboard: Deep-dive performance reporting
- 🔄 API Integration: Custom integration options
Ready to scale? Your WhatsApp Business integration opens up powerful marketing opportunities. Start with compliant, value-driven campaigns and gradually expand your reach while maintaining high engagement rates.
Success Tip: Begin with small, targeted campaigns to established contacts, monitor engagement carefully, and scale based on performance data and compliance requirements.